| Live Search | ||
|---|---|---|
|
What does this configuration achieve?
When processing patient departures, the Receptionist will be prompted to complete customised tasks in the Departure List:
...
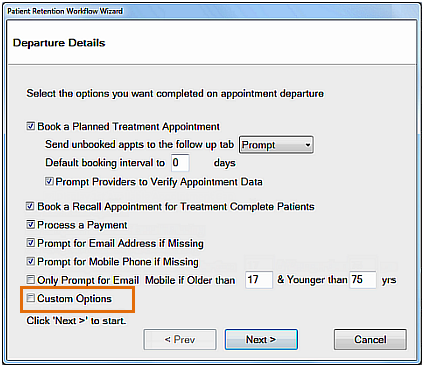
Access the Appointment Workflow Wizard, and in the Departure Details screen, select
Custom Options:
Click Next >
Depending on your configuration selections, you may need to configure other screens first, but you will come to the Custom Options screen, from which you need to select the +1 button:
When the Add Custom Option screen displays, complete the fields to create your custom task for the Receptionist to process. For example:
Type a Description (up to 25 characters) and free text Notes, in a way that will be understandable when later displaying on the Departure List.
Select Patients by Query Template. Select a template using the arrows or lined icon buttons (the latter will allow you to create a new query, if required).
Select OK.
The new custom task displays in the Custom Options window, from where you can use the buttons to Edit selected, Add another task, or Delete the selected:
Click Finish. This task will now appear in the Departure List.
Related Articles
| Page Tree | ||||
|---|---|---|---|---|
|


