...
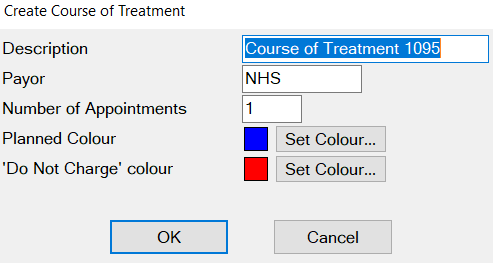
In the Patients Chart tab, click the +1 COT button to display the Add COT window.
Specify the Payor, this will default to the payor set in their patient details but can be overridden. For Private treatment leave it blank.
You can set the number of expected Appointments and set the Planned Colour/Do Not Charge colour
Click the OK button.

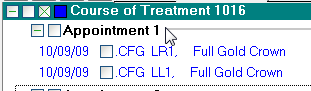
A Course of Treatment has been created and will sit as a COT tab. You can have multiple COT tabs if required.
...
Double-click on the appointment in the Treatment Area. This is displayed on the Appointment line in bold black text:

An Edit Appointment window will display:
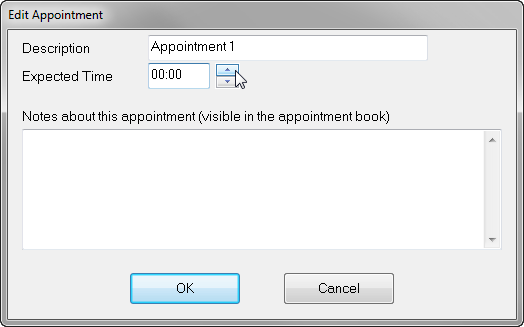

Click in the Expected Time field and type in a time, or use the up/down arrow buttons to enter the new required appointment length. The first two digits indicate hours and the next two digits indicate minutes.
00:25 represents 0 hour and 25 minutes
01:30 represents 1 hour and 30 minutes.
If you wish to make any changes to the appointment description or add a note, click in those fields and type in the text you want to appear. Click the OK button to save changes.
...
Click on the item you wish to move. (Select multiple items by holding down the CTRL key as you click on each item).
Right-click on any of the selected items, to display the drop-down menu:
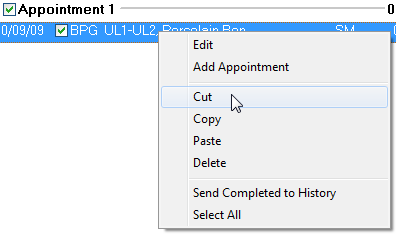

If you are copying, select Copy; if you are removing from the original plan, select Cut.
Click on the appropriate tab; use the arrow within the Treatment Plan as a guide to find the appointment that you wish to place the item into. Right-click and select Paste
...
The Tooth field enables you to enter a different tooth number, either by typing it in, or selecting using the “Tooth” button. Note that you can use this on only one tooth at a time, as it would be nonsensical to change the charting for more than one tooth to a single tooth. If you need to do this, then it is better to delete the charting and re-enter the correct tooth.
Alteration of Completion Dates - Backdating Treatment
When entering a patient’s treatment it may sometimes be necessary to alter the date on which the treatment was completed. When treatment in the current Course of Treatment is ticked as complete, the date changes from the date the service was planned, to ‘Today’s’ date. For whatever reason - such as neglecting to tick the treatment on the day - this might not be correct.
To back-date the Treatment Completion date:
...
Ensure that the treatment line has been ticked as completed (but not charged).
...
Double-click on the date, which will bring up the ‘Edit Chart Item’ screen.
...
Click in the ‘Completion Date’ field and enter the required completion date. From this screen you can also see the date the treatment was planned.
...
.
Related Articles:
Quick Plans
Quick Chart
Auto Charting
Custom screens archive
...