This The 'Search and Change' option feature enables you to select all patients who have not attended appointments at the practice for a specified period of time, and change their status code from ‘Active’ to ‘Inactive’.
NOTE: This process will also enter a specified reason code on each patient’s details tab, and mark their surname and Patient Code with an asterisk (*) so they may easily be excluded from mailing lists, automatic appointment reminders, and various reports.NOTE:
Apart from changing the status and adding an asterisk and reason code, this only change the patients status (to Inactive), add an asterisk to their name and add an Inactive reason code. IT does not delete or otherwise change records in your EXACT EXACT database.
Nevertheless, before Before you proceed, ensure that:
All other users are logged out of EXACT EXACT
You make take a full backup of the system.
If you are at all uncertain about using this utility, please contact SOEI Support.
...
EXACT Database files.
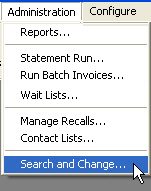
Log in as a user that has access to Administration, Search and Change
The first screen is informational; read the instructions carefully, then click the Next > button.
From the Type of Search and Change screen, select Select the Change patients to inactive status option:
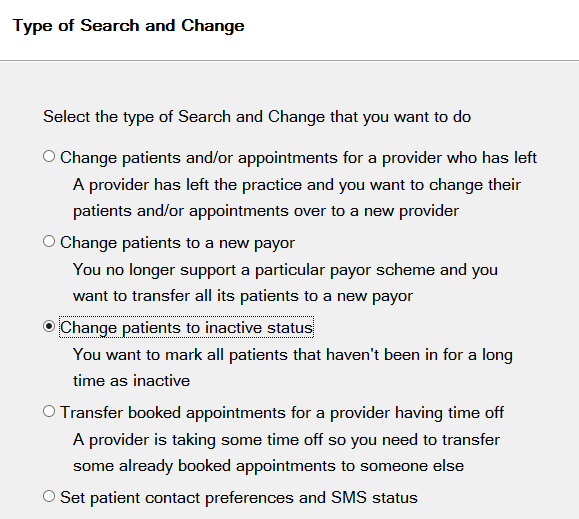
Click the Next > button. The following screen will be displayed:


Enter the date of the last appointment for patients. Any patients whose last appointment was before the specified date will be selected to be made inactive.
Using the

or

buttons, select Select an ‘Inactive reason’ code to be shown on the patient’s details tab.
The Next > button will be ‘greyed out’ until all fields have been filled out correctly.
When you click it, you will be given some final instructions before you opt to abort the process, make changes, or finish the search and changeAfter reading through the final instructions click “finish” to begin the Search & change process.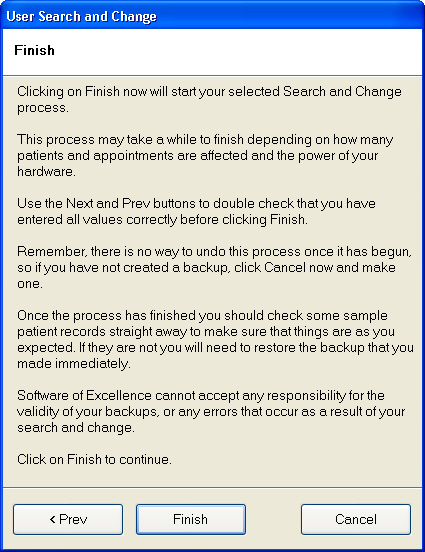
NOTE: Read the instructions on the screencarefully. Note that if the change involves many patients, and your system is busy, the 'Search and Change' process may take quite some time to complete.
Up until the Finish button is clicked, you may still abort the process and use the < Prev button to make changes to your selection criteria.