...
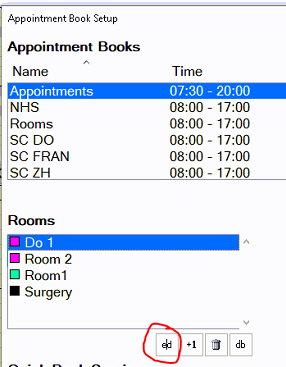
From the Appointment Book click on the Spanner icon in the right hand corner.
Select “Configure Rooms” then select ‘Next’
(select “make changes to this appointment book” in older versions)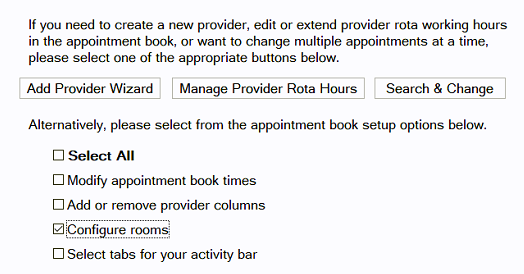
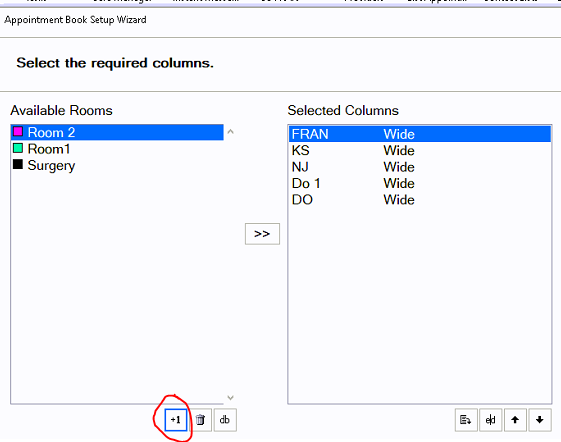
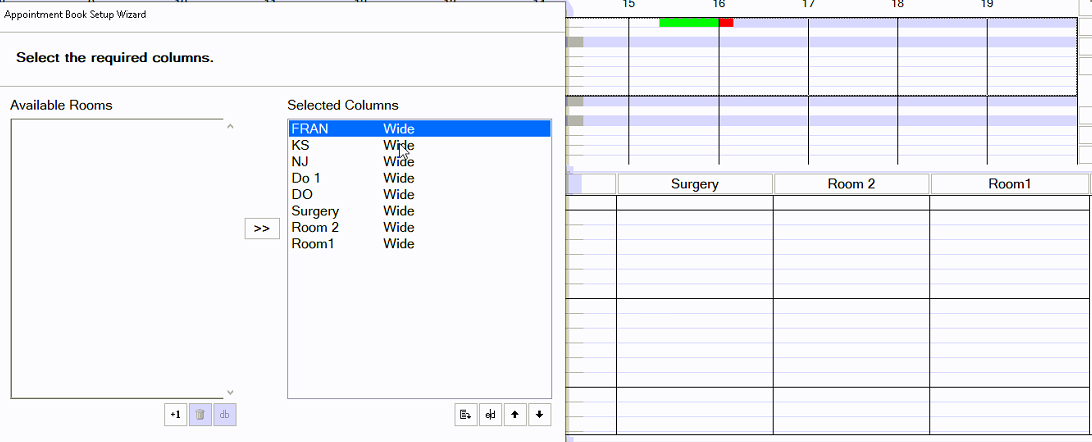
You will see the existing available rooms on the left hand side and any rooms already on show will be on the right hand “selected” column.
Click on +1 at the bottom of the room's section to add in a new room
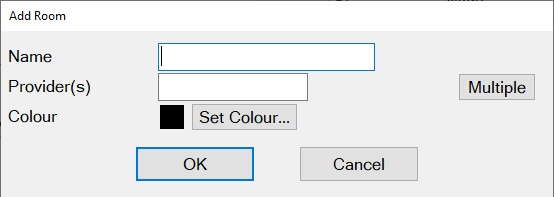
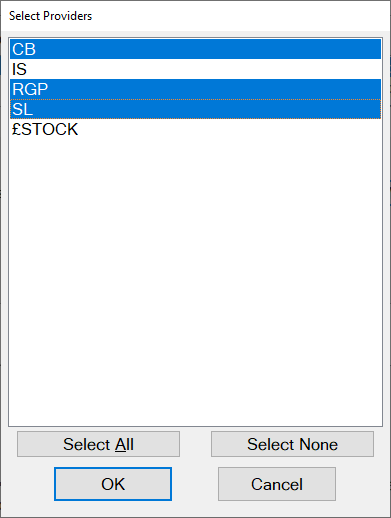
You will need to set a colour for this room and also add any providers that will be operating in this room if there is more than one click on “Multiple” and select each of the providers that will be using this room (the ones highlighted in blue will be selected. Then click OK
If you ever need to add/remove providers to a room once the room has been created you can do this from Configure, Appointment Book, then edit the room from this screen.
You will need to move the rooms into the “Selected Columns” section before they will appear.
Use the >> button to move Rooms across. Use the “remove” button to remove entries. The up and down arrows change the order they are displayed on the Appointment Book.
Click Finish when done. Your appointment book will now show with the selected Rooms.
Example of Surgery 1 showing two different coloured appointment s
...
appointments as they are with different providers working out of the same room. Other appointment book colour options are possible. See: Changing the Appointment Book Column Colours & Appearance
...