EXACT EXACT has 2 different Perio functionalities. The basic/original Perio and the advanced Single Screen Perio Charting Information on how to enable can be found here - Enable/Disable Single Screen Perio
...
Previously saved Perio Charts are listed on the upper left-hand pane in the order they were taken, and can be viewed, edited (only on the day created), and/or printed. If the patient file window is wide enough (larger display resolutions required), additional layout options will be made available:
...
Some or all of these layout options may not be available if the Patient File window is not wide enough, or if the magnification option is on.
Creating and editing a Perio Chart
...
a Perio Chart
Click the +1 (Add) button at the bottom of the Perio pane (centre left of the tab) to open the Add Perio Chart window:

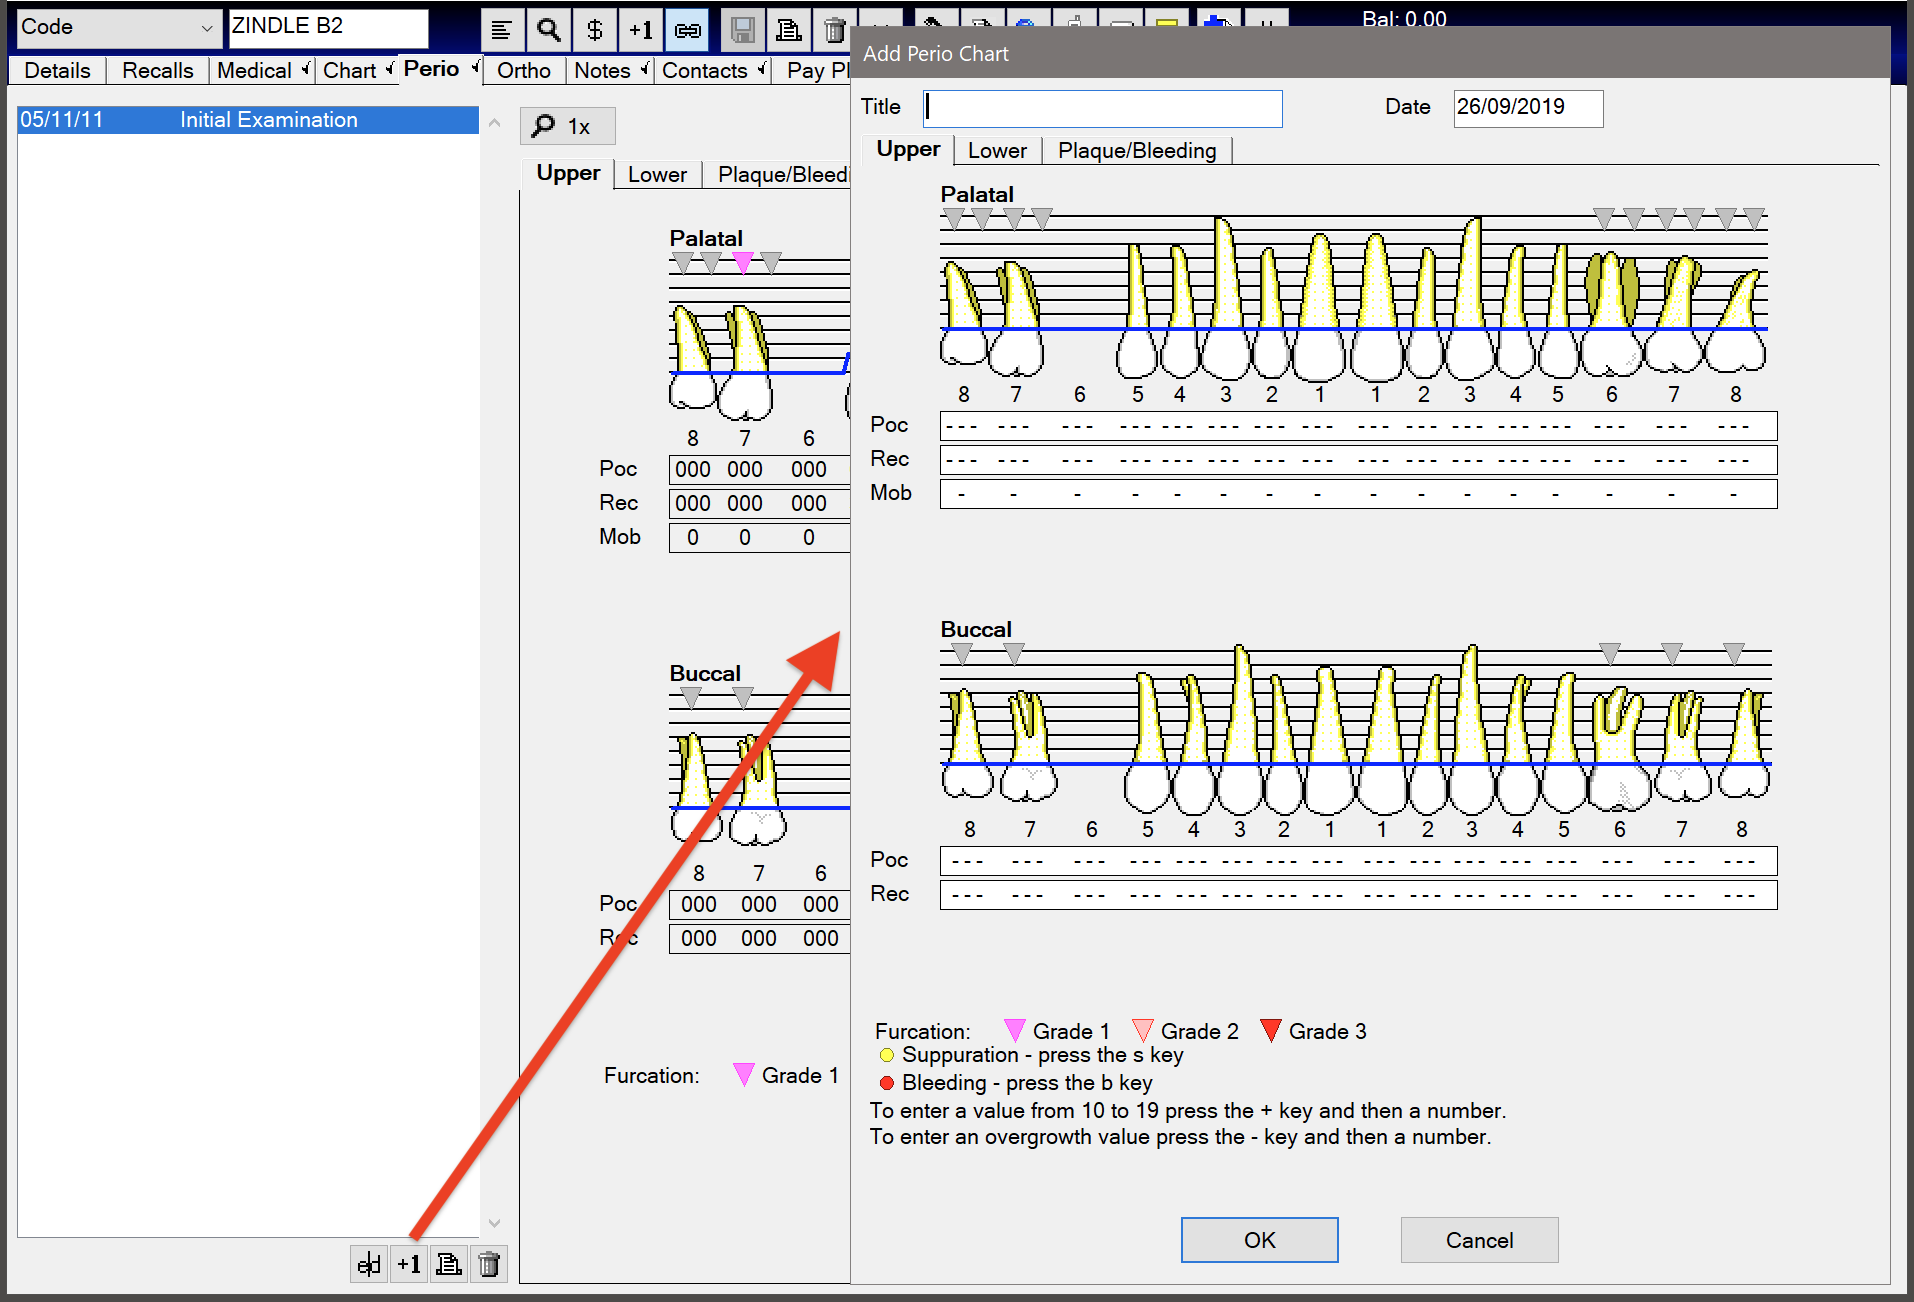
Enter a title for the chart. Examples of common charts are:
Initial Examination: 1st Measurement
Periodic: Annual Examination
Recall: Maintenance
Re-evaluation: 2nd Measurement
Follow the instructions on the screen to enter the correct values for:
Palatal Pocketing
Gum Recession and Mobility
Buccal Pocketing
Gum Recession
If you want to chart a pocket greater than 9, select + followed by the number.
For example, a pocket of 10mm would be recorded as +0 and a pocket of 12mm as +2; this number would appear as a blue digit on the chart. Example:;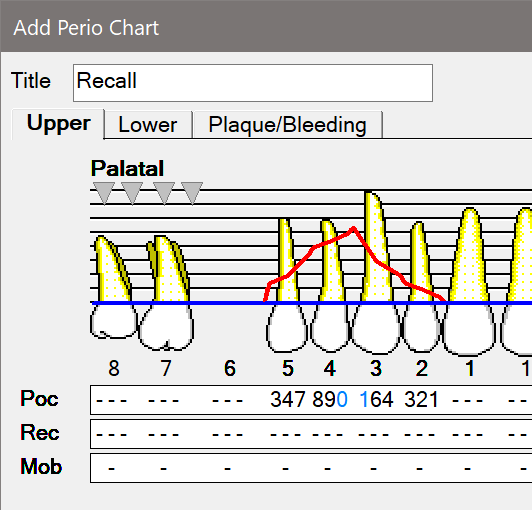

Mark any areas of Furcation and the severity by clicking on the triangles marking the areas. Click once (Grade 1), twice (Grade 2), or three times (Grade 3). Click a fourth time to remove furcation.
Mark any areas of Suppuration by selecting either the Pocketing or Recession number at that location and pressing the S key on the keyboard.
Mark any areas of Bleeding similarly by selecting the location and pressing the B key .
.
To enter an overgrowth value, press the Minus key followed the number e.g. –3 to show an overgrowth of 3mm.
To remove pocketing, recession, or mobility, highlight the value and press the Space bar .
.
To move between values, use the left or right
 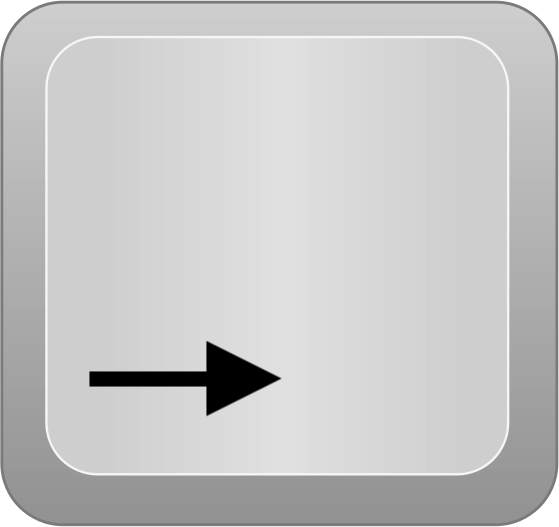 arrow keys. Hold down the Control key
 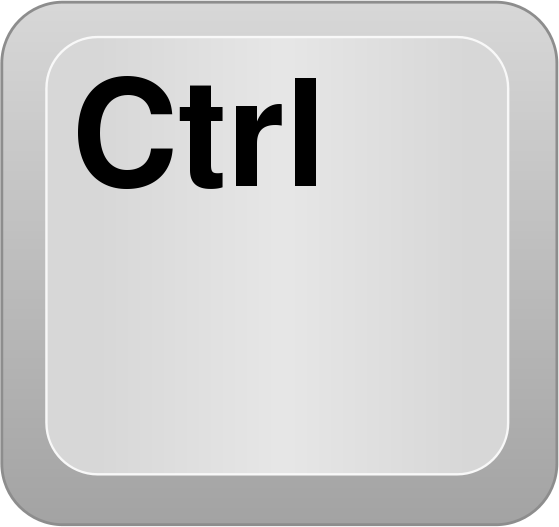 to move one tooth at a time.
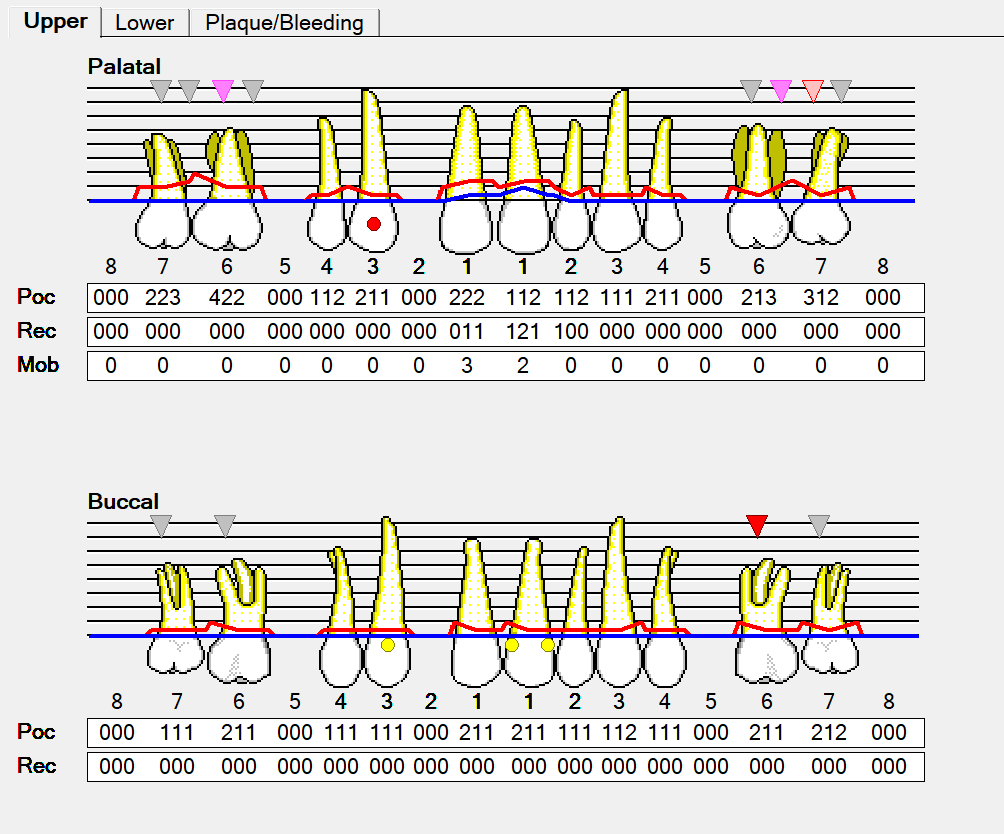
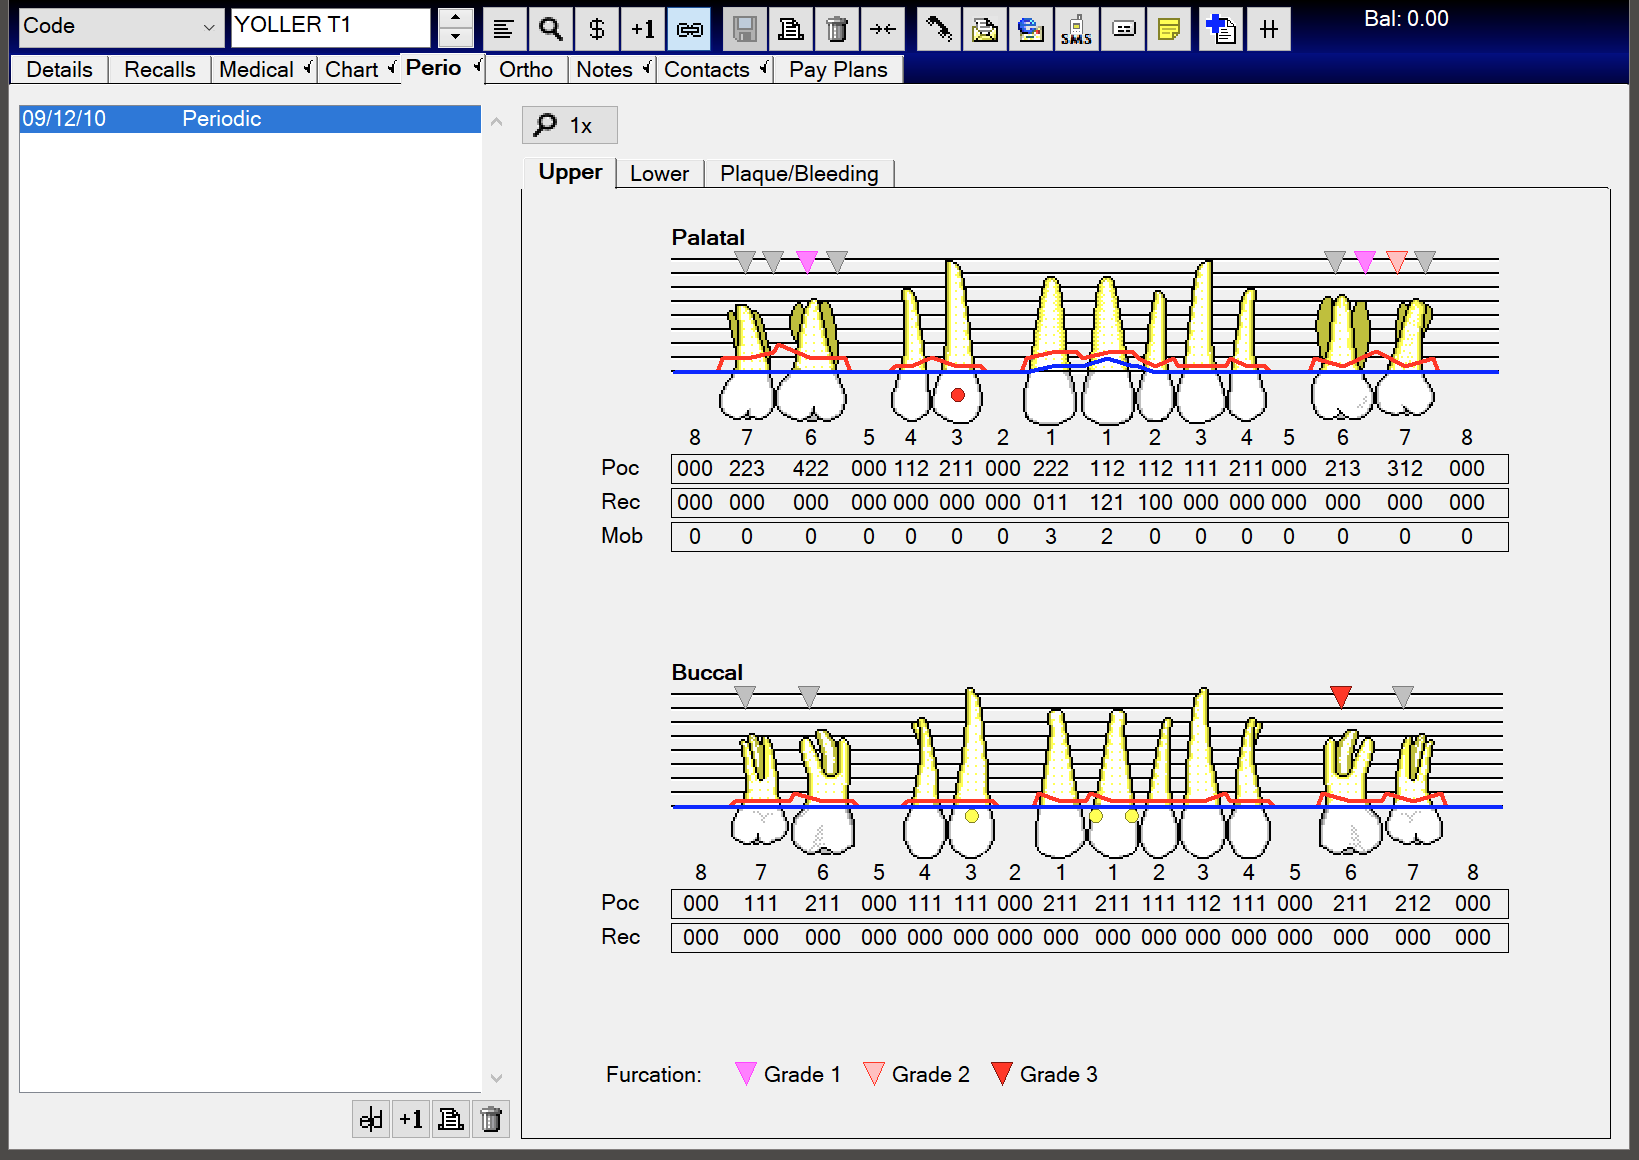
Populated Upper tab example:

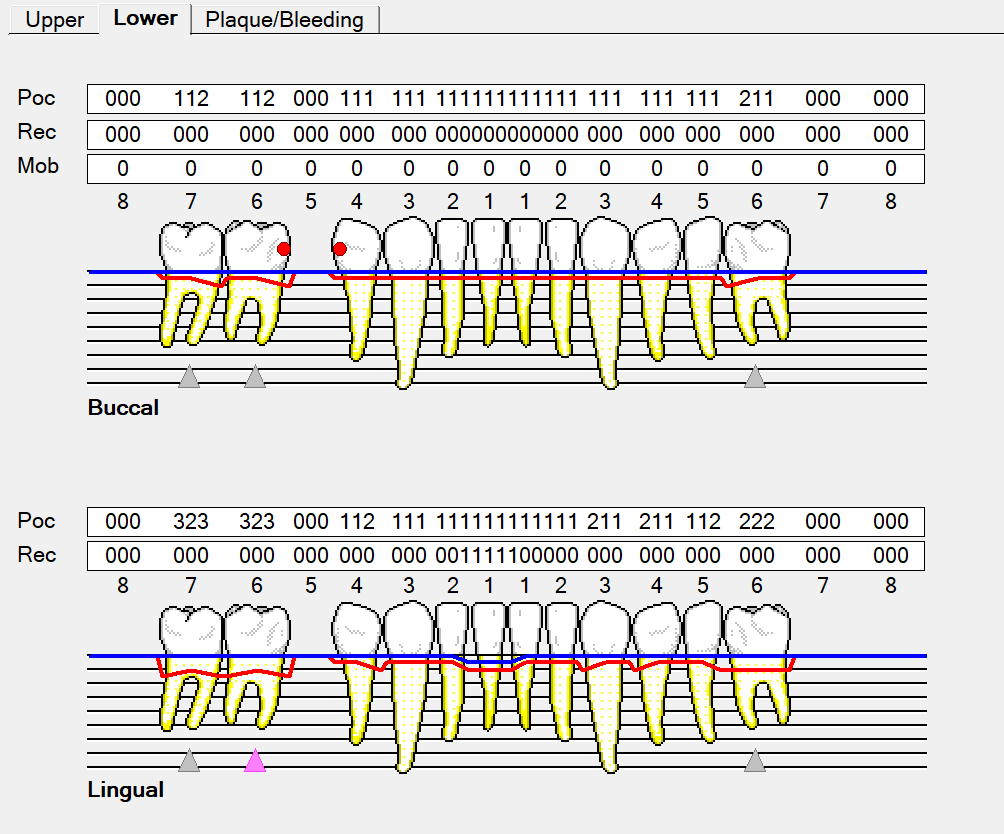
Select the Lower tab and repeat the process. Populated example:

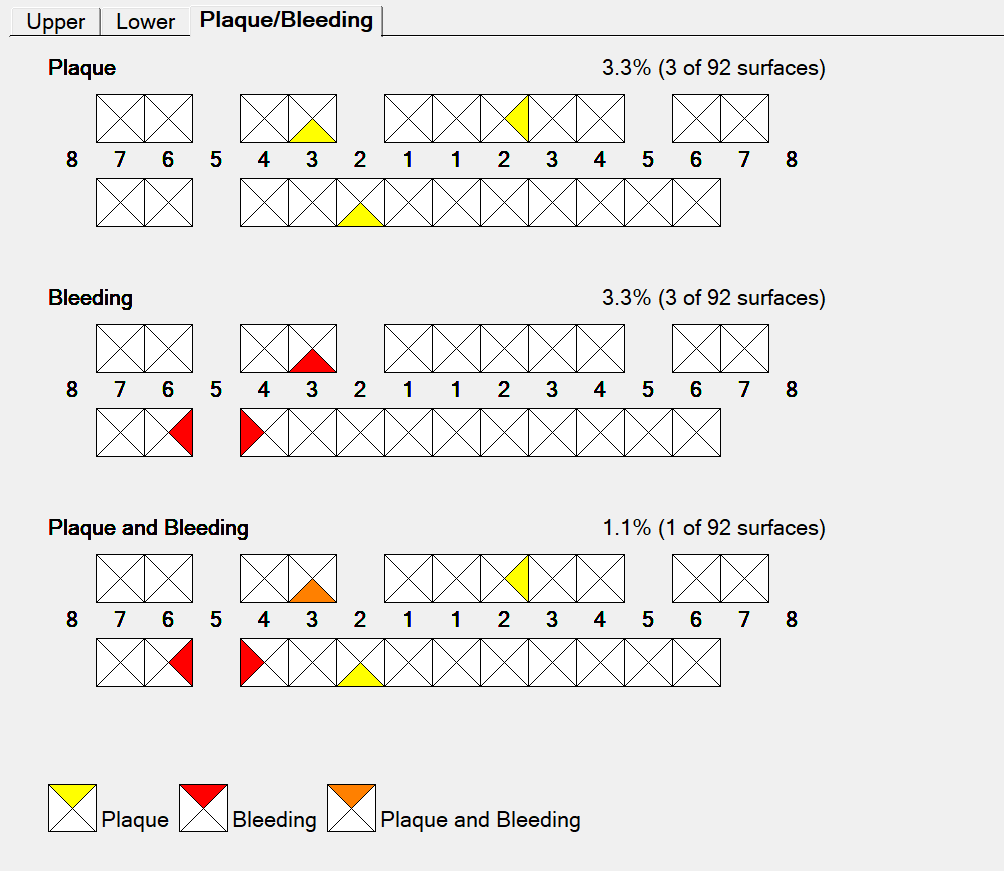
Select the Plaque/Bleeding tab and use the mouse to mark the facets of the teeth with Plaque or Bleeding. Populated example:

Click OK to save the chart, which will now be listed in the top left pane of the Perio tab, and displayed to the right:

To edit a Perio chart
Select the chart in the Perio tab, click the e|d (Edit) button or double click the existing entry, then change the values as described above.
DMF Score - creating, editing, deleting
...
Click the +DMF button at the bottom of the Perio tab list.
If you do not see this button at the bottom of the perio tab, the Perio DMF is disabled. It can be enabled in Configure→Patient File, Perio Options.
The DMF window will open: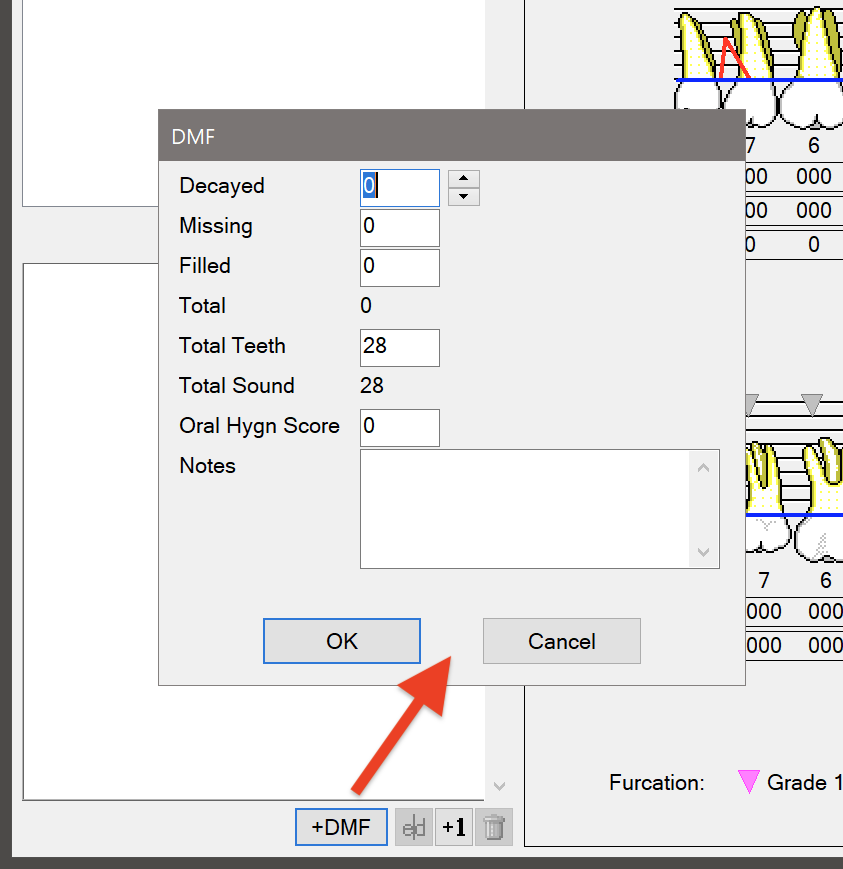

Enter the appropriate numbers for decayed, missing and filled teeth for the patient.
The numbers will be totalled for the Total and Total Sound fields, and cannot be edited.Click in the ‘Oral Hygn Score’ field and type or use the arrow buttons to select a rating for hygiene, and add any notes.
The window will now look similar to the following: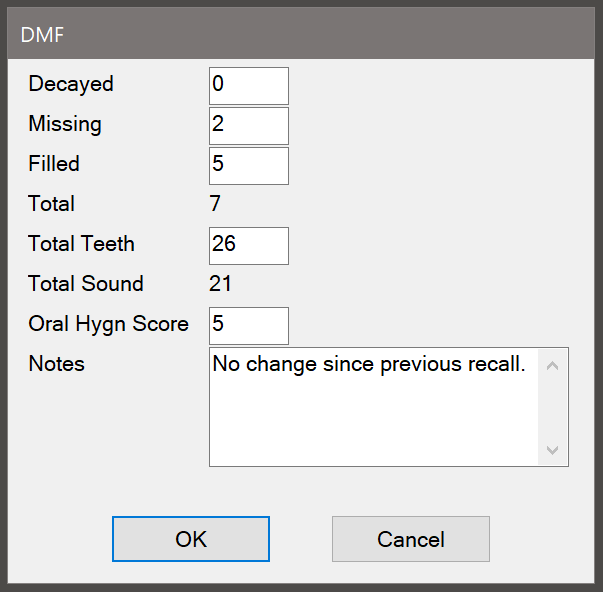

Click the OK button to save the DMF score.
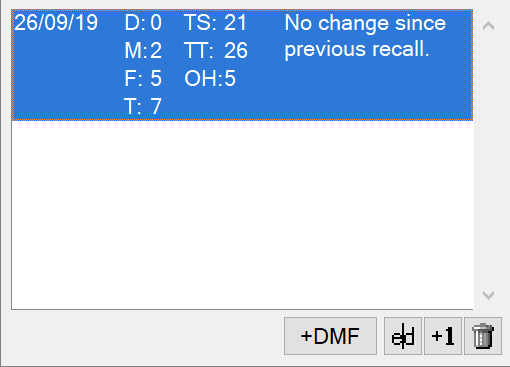
You will see the new DMF score in the list:

To edit a DMF score
Select the item in the Perio tab list and click the e|d (Edit) button to button or double click the entry to re-display the DMF window, then make and save the changes as required.
...