There are two NZ Payor Payment processes:
...
Normal process | MoH process | |
Payors: | Non-MoH, such as ACC | Ministry of Health, such as OHSA, SBD, OHSA Exceptional Circumstances |
Payment must be by Claim Bundle: | No | Yes |
Initiate procedure from: | File > Payors:
| Transactions > Payor Payments:
|
Further information: | - Processing a normal Payor Payment (non-MoH) - ACC Charting and Claiming | Processing an MoH Payor Payment |
...
Processing a normal Payor Payment (non-MoH)
(for non-Ministry of Health payors such as ACC, WINZ, BAYCORP)
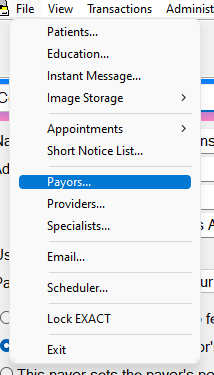
- Click: File > Payors


 Choose the Payor
 Click the $ button
 Click the Payment button:

- Enter the Payment Amount, and if it is an ADVANCED Payment, do not tick any Invoices, in order to Post an Open Amount:

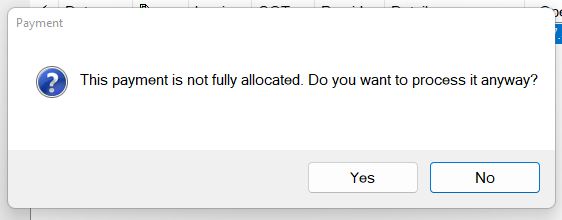
- The Amount will be processed once you click Yes, and the Advanced amount will show in the Payor $ sign, with an Open Amount against it:


(see also: Checking Allocations against an Invoice)
- If the Payment you are entering is for a specific invoice, tick the checkbox to the left of the Invoice, in order to allocate the Payment amount against that Invoice:

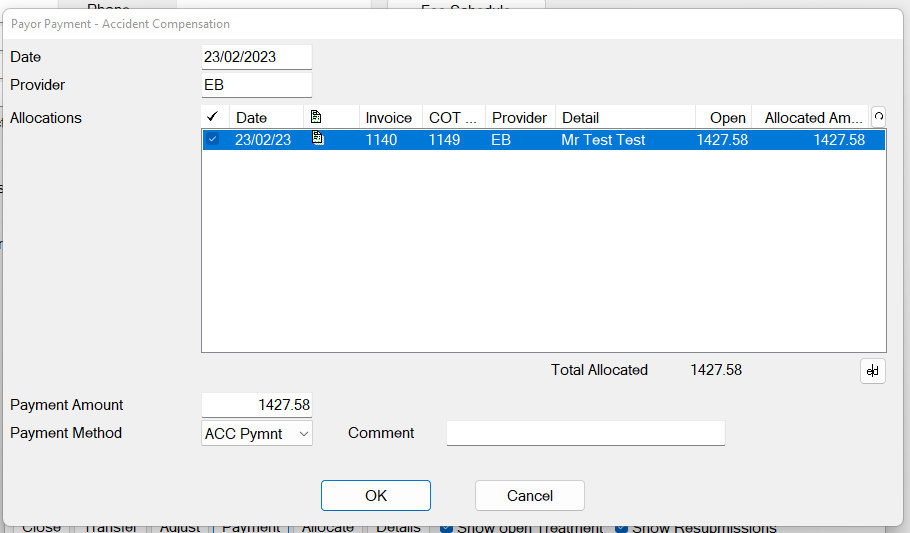
The Receipt will again show in the Payors $ Sign, but will be fully allocated, and will not display an open amount:


Processing a MoH Payor Payment
(for MoH payors such as OHSA, SBD, OHSA Exceptional Circumstances)
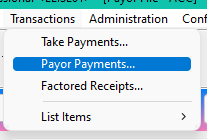
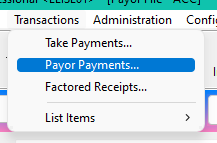
- Click File > Transactions > Payor Payments

The List Claims for Payment screen displays:

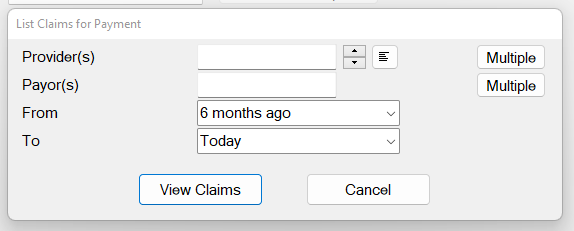
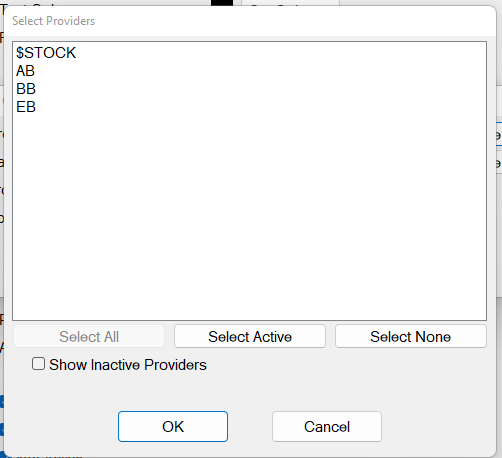
Select a Provider by means of the selectors


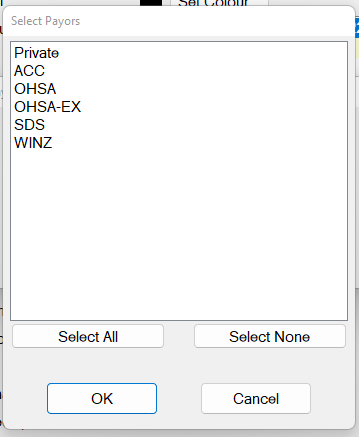
- Select a Payor by means of the selectors
 .
.
- Select From and To dates:


- Click the View Claims button to List the Payor Claims, from where you can optionally process selected payments:
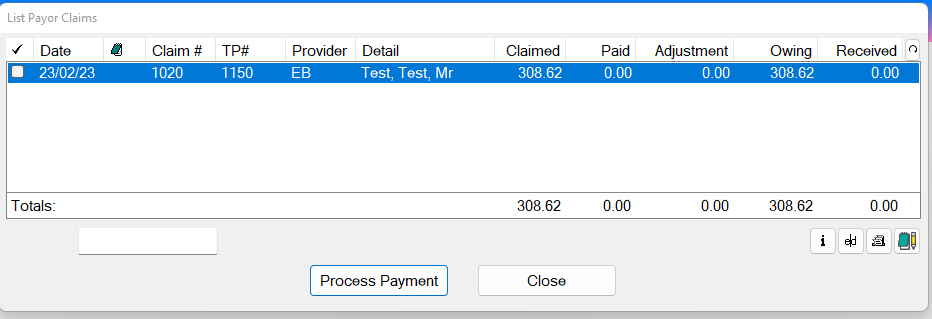


Checkbox
Use this to instantly fully allocate a claim. For the selected line item, this will change the Unpaid figure to 0.00, and the Received figure will be the same as the Total.
Date
The date the claim was TCed. This is the default sort order for the screen.


[Note]
If there is a claim note for the current claim, an icon displays in this column.
Hover your mouse over the icon to display the note text via a ‘tooltip’.
If more than one note exists, the tooltip displays the most recent note.
To read the note details, or to add or edit a note, click the Note button

 in the bottom right-hand corner of the List Payor Claims window.
Claim#
The Claim Number displays if the Payor requires Invoices to be sent in Claim Bundles (MoH Payors such as OHSA/SDB/OHSA Exceptional Circumstances).
TP#
The claim’s Treatment Plan number


Edit
If necessary, click this Edit button to open the Edit Payor Payment window, from where you can adjust the Amount Received to be less than what has been claimed for.
- To process a Payment amount that is LESS than what has been claimed for, click the e|d button
 and enter the amount received in the Amount Received box:
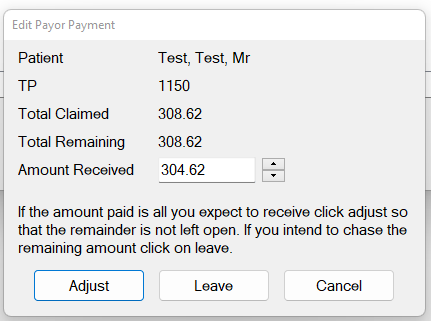
Note the instruction on this screen: If the amount paid is all you expect to receive click the Adjust button so that the Remainder is not left open. If you intend to chase the remaining amount, click the Leave button.
- Check (tick) multiple transactions for the Total to show in the bottom right corner:


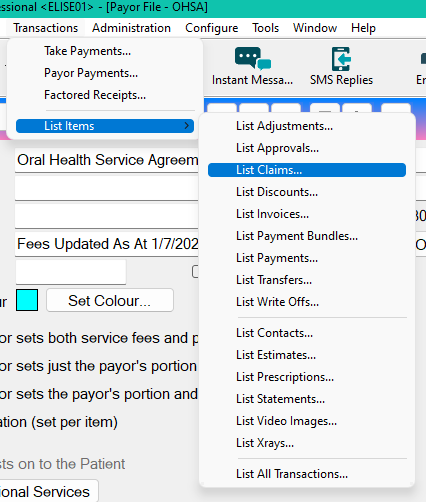
Viewing OHSA claim status
- Within EXACT, click Transactions > List Items > List Claims

- To see Patients/Invoices within a claim, double click the claim bundle.
Double-click a claim bundle that has an Open Amount against it (indicating that the claim bundle is still outstanding for payment).


The Patients/Invoices within the bundle display.
- Here you can add claim notes to the patient invoices if required:


Claim Notes and Claim Bundles
Adding Claim Notes to a Claim Bundle
- Highlight Highlight an Invoice within the Claim Bundle.
- Click Click the NotePad button
 .
.The Claim Notes screen appears.
- Click Click the +1 button

 to add a new Note:
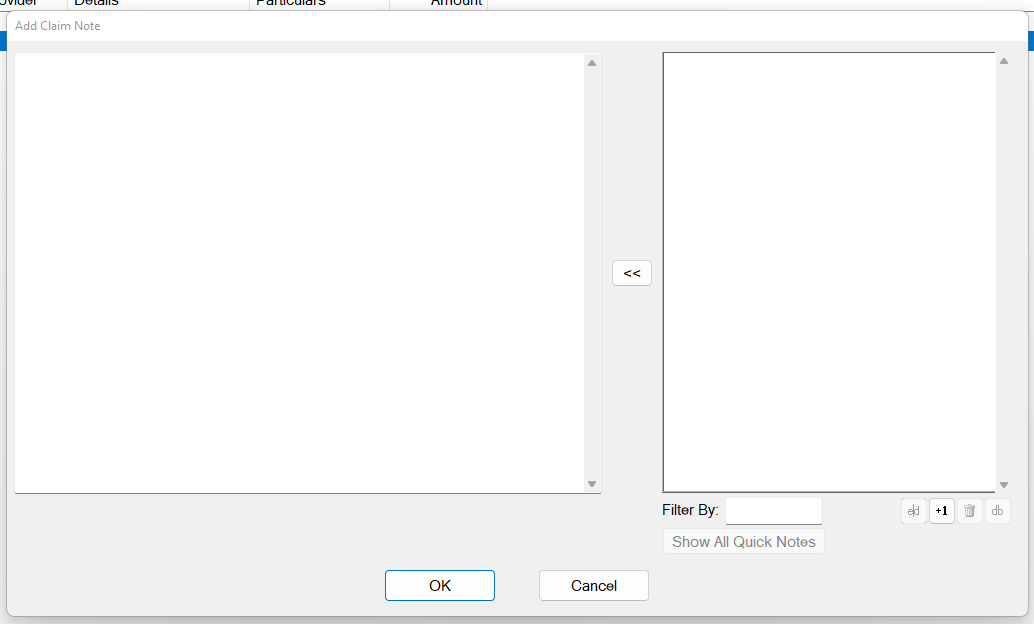
- To Add a Quick Note,
Click the +1 button
 within the Add Claim Note window to display the Add Quick Note screen:
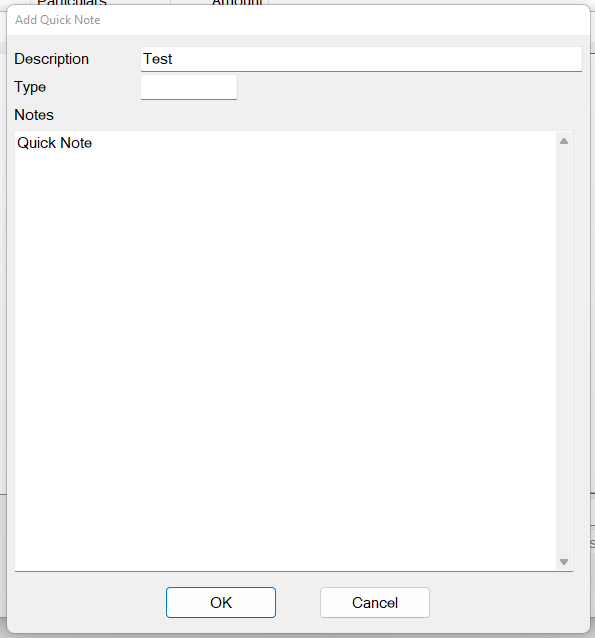
Type Note details and then click OK.
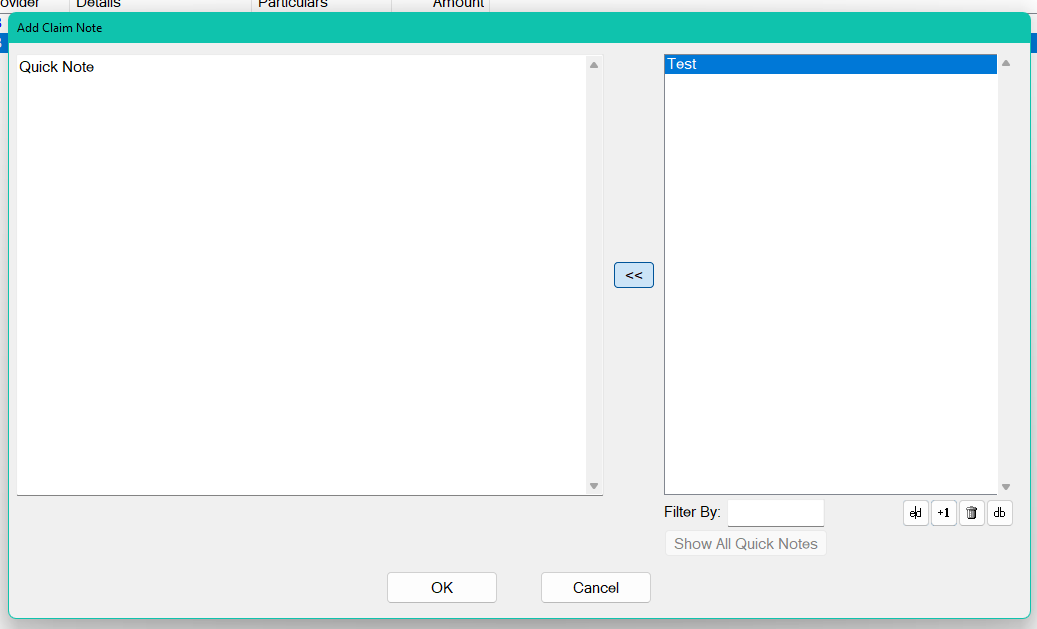
- Once a Note has been highlighted within the Add Claim Note Window, click the << button to move it from right pane to left pane, and then click OK:

- To delete a Claim Note from a Patient Invoice, highlight the Claim Note, and then click the Delete button

 .
.NOTE: To see deleted Claim Notes, tick the Show Audit button.

Adjusting a transaction within a bundle
- Double-click on a Claim Bundle to View Patients Invoices within the bundle.
- Click on an Invoice within the bundle to highlight it
- Click the Adjust button:


The Create Adjustment screen displays.
- Set the Date of the Adjustment, Adjustment Type and the Adjustment Amount, and then click OK:

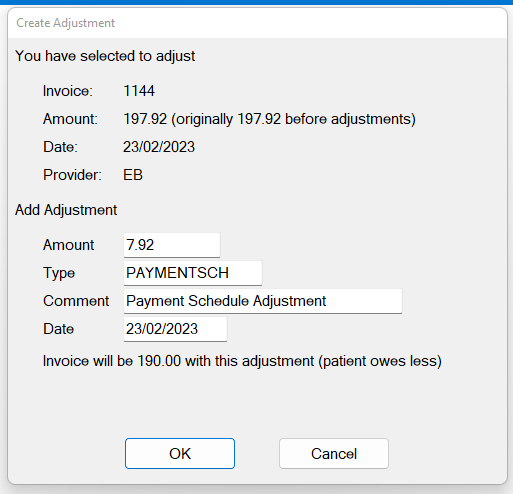
The Adjustment shows within the Claim Bundle, thereby adjusting the Open amount:


How to check which Claim Bundle holds a particular Invoice
- Click Transactions > List Items > List Invoices

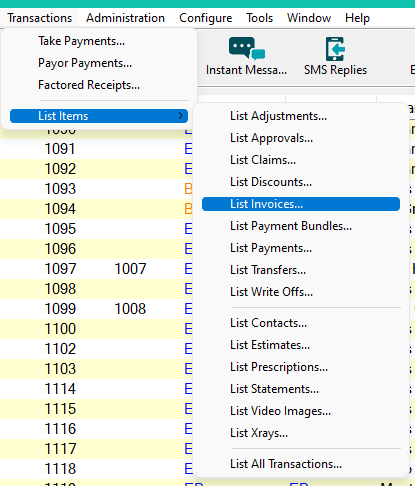
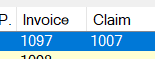
- Locate your Invoice number to see the Claim Bundle Number in the column next to it:

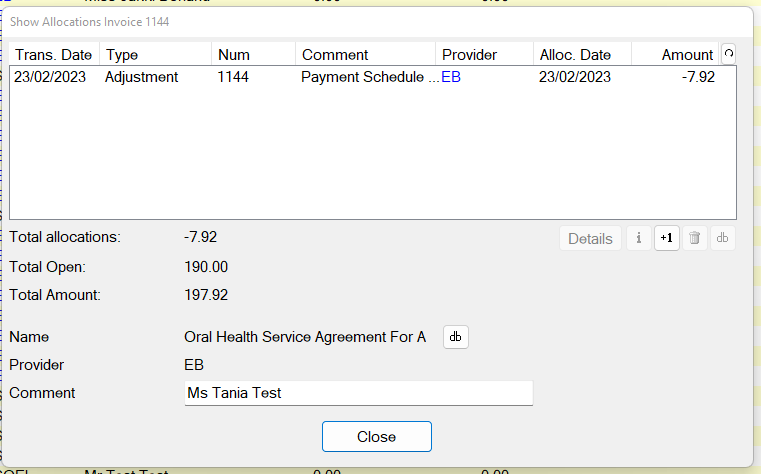
Checking Allocations against an Invoice
- Click Transactions > List Items > List Invoices
- Click on an Invoice, then Click the Information button

 :
:
NOTE: If the Allocations are incorrect, use the Delete button
 to remove the allocation. This will not delete the original Receipt, which will remain in the Payors $ sign, and following the deletion of an allocation, will show with an Open Amount.