Search these help files
...
- From the Workspace Bar, click Patients... to open the Patients desktop.
- Select the required patient .Click the Transactions button
 on the Patient Tool Bar or press the [F3] key on the keyboard.
The Patient Transactions window opens:
 then click on the $ / £ Symbol to open the Tranactions screen. You will be able to access this screen from other screens like the Appointment Book.
The main body of this window displays all transactions for the selected patient, in date order.
A scroll bar will automatically appear on the right if there are too many transactions to view at one time.
- Options to display the following columns (as displayed in the example above) are set from Configure > Patient File:
- One single column instead of the debit and credit columns
- A single Amount column
- Running Balance for the patient
The right area of this window displays the following columns:
Fee:
The total amount that is invoiced to all parties, e.g. patient portion + payor portion.
Debit:
An amount that will increase the patient’s balance, e.g. an invoice.
Credit:
An amount that will decrease the patient’s balance, e.g. a receipt.
Balance:
(Configuration Option) Running balance of the patient’s account
Open Amt:
Displays unallocated amounts, e.g. invoices yet to be paid, or payments made in advance of treatment. The total of this column should equal the patient’s balance.
The window also has the following fields and functions:
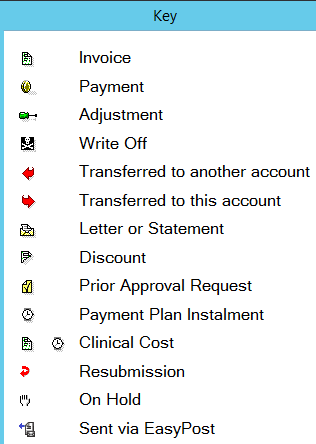
Key: |
| ||||||||
Show Non Account Items: |
| ||||||||
Show Resubmissions: |
| ||||||||
Show Deleted Items: |
| ||||||||
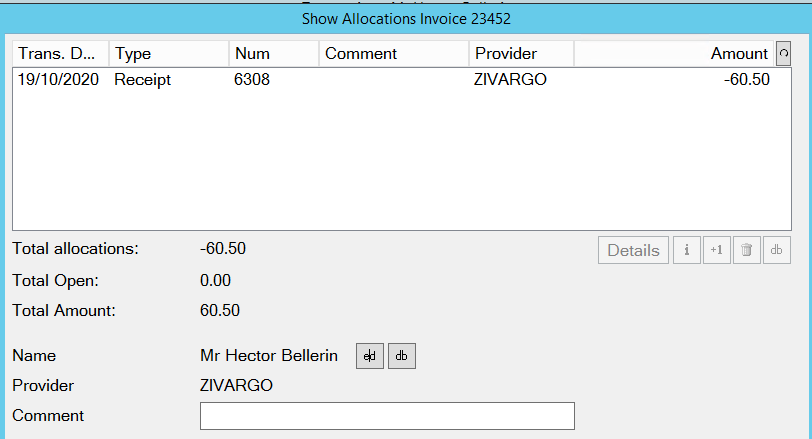
Details: |
| ||||||||
[i] |
| ||||||||
Print: |
| ||||||||
Delete: |
| ||||||||
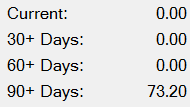
Aging Analysis Area | Shows the total of the patient’s outstanding amounts within each period.
| ||||||||
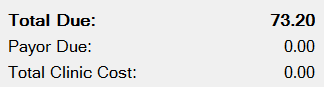
Total Due: |
| ||||||||
Payor Due: | This displays any unpaid amounts for this patient that have been charged directly to a payor; e.g. HIC. | ||||||||
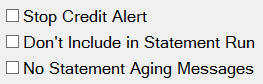
Stop Credit Alert: |
| ||||||||
Don't include in Statement Run: |
| ||||||||
No Statement Aging Messages: |
For example, you may wish to exclude a statement aging message for patients who are paying for treatment in monthly instalments by direct debit. | ||||||||
Close |
| ||||||||
Statement: |
| ||||||||
| Click this button to place a claim for the selected item with GMHBA. | ||||||||
Payment: |
| ||||||||
Refund: |
| ||||||||
Adjust: |
| ||||||||
Transfer: |
| ||||||||
Write Off: |
| ||||||||
Allocate: |
When using this button to manually allocate transactions, be careful to enter the correct figures. | ||||||||
Opening Balance: |
| ||||||||
FP17 |
| ||||||||
Resubmit: |
Invoices can be resubmitted as many times as required without implications. | ||||||||
| The "Med 2" button allows you to print the "Med 2 Report" for a user-specified date range. |


...