To configure Clinipad availability to computers
Plan the assignment of Clinipads to computers in different areas of your practice. You want only the appropriate computers to be able to see each device.
For example, a group of reception computers might all share five Clinipads, but each clinic may have its own dedicated Clinipad.
On a Clinipad Configuration screen, select the computer symbol:
A Linked Computers list displays all networked computers.
Link the Clinipad to computers by checking (ticking) the computer checkboxes:
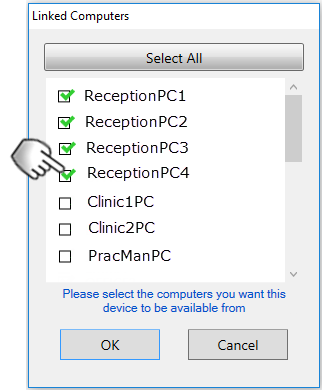
Click OK.
The Clinipad will then be available to those checked computers.
Repeat for all Clinipads.
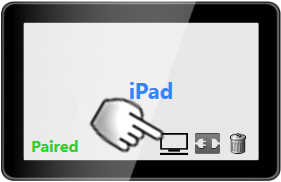
Clinipad devices display how many computers can issue and return sessions:
In the Clinipad configuration screen the "computer" icon shows how many computers can issue and return sessions to that Clinipad device:
...
To see the computers to which a Clinipad is linked, simply select this "computer" icon and a list will display.
Other configuration screen functionality:
The Clinipad screen displays the name of the patient who is currently using the device. Select the name to go directly to that patient file.
Select the disconnect button to immediately release the device and discard any session data.
...
To see ALL Clinipads in the dental practice
When looking at the returns list you will normally only see sessions on those Clinipads that are available to your computer.
However, you can un-check the Only show available devices checkbox at the bottom of the returns list to see all of the issued Clinipads in the practice:
...
Configuring Appointment Arrival Options for Clinipad
Clinipad arrival options integrate with the Appointment Workflow Arrivals Task List, presenting an electronic alternative to manual / paper-based arrival tasks.
The functionality of the arrivals task list is configured with the Appointment Workflow, so please refer to Configuring Appointment Arrival Options and its sub-topics.
To configure the Forms used on CliniPad go to Configure->Appointment Book.
Click on Arrival Options.
...
Patient Details will always be sent to the CliniPad regardless of what option you choose here.
You can update the frequency that Medical Histories are sent by clicking on Medical History
...
Set the Alert if Medical History is X Months overdue field to how often you want to request this from patients. Note that if you set this to 0 it will not prompt for Medical History at all.
There will also be User Setting Checkboxes - specify a strategy for this User's review of the Forms, with options as follows:
...
Have patient sign Medical in surgery will not give the patient a signature option when requested by Reception. They will fill out their Medical History and then be expected to sign in the surgery.
Require dentist signature allows the dentist to cosign the medical history.
Select OK to save the Medical History Configuration.
Configuring Clinipad Treatment Consent Form
For each Provider a Consents tab must be configured to display in the Charting screen, in either the Upper tab or the Lower tab area (procedure below).
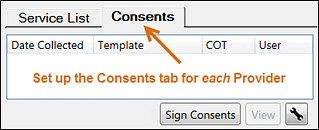
Set the Consents tab to display in the Charting screen for each Provider
Enable the Consents tab in the Charting screen as follows:
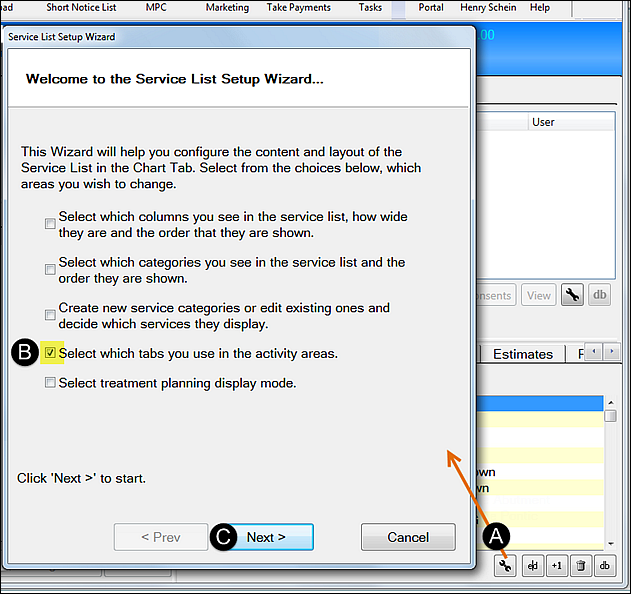
Select the Service List Setup Wizard button to open the Service List Setup Welcome screen.

Check (tick) the checkbox Select which tabs you use in the activity areas.
Select Next to move to the Select Tabs... screen
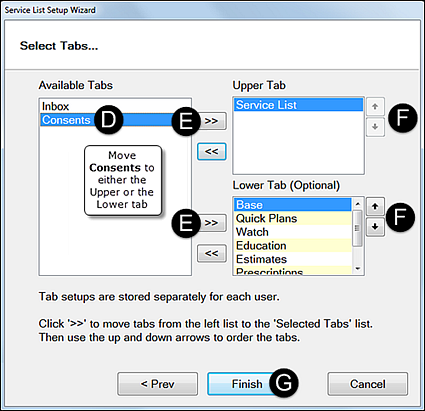
Select Consents in the Available Tabs pane.
Move it to either the Upper Tab or the Lower Tab.
Use the Up/Down arrows to position Consents relative to other tabs.
Select Finish to display the Consents tab in the charting screen:
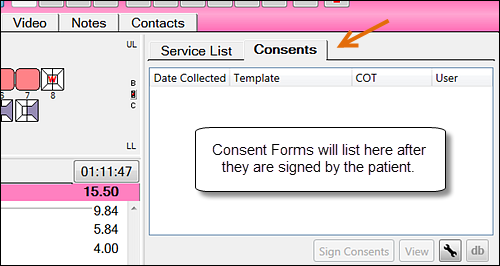
This tab is for displaying completed Consents for the currently selected patient.
It will be blank until at least one of the template Consents you create are signed by the patient.
Repeat the above tab-setup for all other Providers.
Create template Consent forms
Open the Consents tab and proceed as follows:
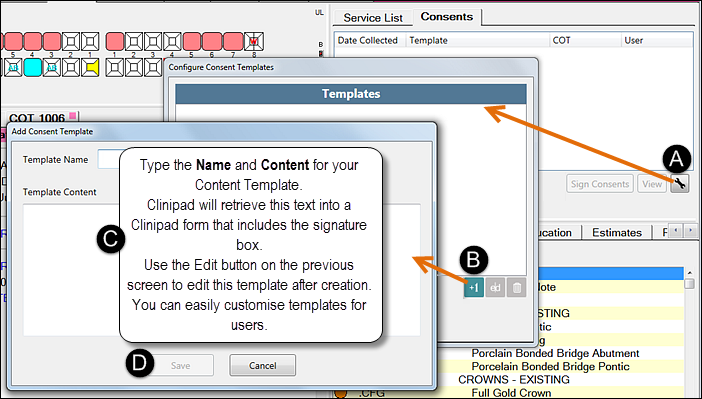
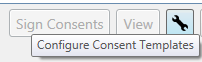
Select the Configure Consent Templates button to open the Configure Consent Templates window.
Select the +1 button to open the Add Consent Template window.
Type a Template Name and then type or paste the appropriate text for the Template Content.
Clinipad will use this text to populate a Consent Form, to which it will add a signature box.
Note that you can easily edit this template by means of the Edit button in the previous window.
When complete, select the Save button.
Repeat this procedure to create as many Consent Forms as required and then Close the templates window.
When you click the Templates window Close button you will not see these Form templates in the Consent tab - the tab is for displaying completed, signed Consents only.
Refer to Clinipad Consent Forms for details on how Clinicians use the template Consents.
Configuring Contact Consent with Clinipad
To configure Contact Consent arrival options
...
Select Configure > Appointment Book, and in the Appointment Book Setup screen, select the Arrival Options button to display the Appointment Arrival Options window.
In the Appointment Arrival Options window, select the Contact Consent tab:
...