You may require some assistance from your IT provider as they may have the access required to obtain or control the settings needed to set up your email account within EXACT aswell as providing any technical assistance needed.
As some email providers require additional settings to be enabled before they will work within 3rd party software we have broken down the article to help you configure your specific email account within EXACT based on your Email Provider.
The most popular email providers Port & Mailserver settings can be found here.
With your Email address, Email provider and email password ready..
Log into EXACT (as a high enough user), then go to Configure > Email Parameters
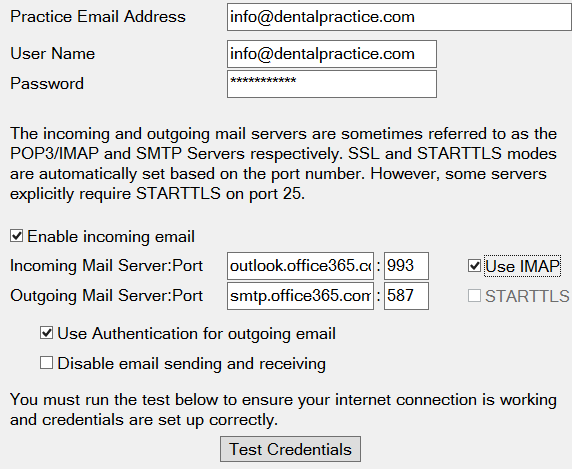
Enter the Email Address into the “Practice email Address field
Enter the same into the User Name field and the password in the Password field.
Enter Incoming Mail Server, or leave blank and untick “Enable incoming mail” if you’d prefer to read your emails outside of EXACT.
Ensure you tick the IMAP box if using IMAP (993) (Recommended), or leave unticked if using a POP port (995) (Not Recommended).
Beware! using the POP/POP3 option will move all of the existing and future emails from the mailserver down into EXACT and you will not be able to get them back out. Only use POP settings if you’re sure you want your emails to remain in EXACT and not be visible elsewhere.
(Gmail/Gsuite however has an option for POP to “leave a copy on the mailserver” which can be found in the Gmail settings online.)
6. Enter the Outgoing Mail Server (Usually Ports 465 or 587) then Tick the Use Authentication checkbox. You should have a screen that looks like this

7. Click Test Credentials, see “Test Successful”, click Next until you get to “finish” to save the new email details.
If this test fails it could be that the password, a mailserver/port is wrong or the account requires additional settings to be enabled. Please speak to your IT for further advice.
8. Unless you know that your email provider can send more than 3 emails per minute (180+ per hour) then please set this setting on the next page to 3 and tick the box and click Next.

9. A prompt may appear to change the email in practice information too, click yes (this means all future communications to patients has the updated email address included).
If you use Campaign/Marketing Manager and clicked “Yes” to the prompt mentioned above please email us at emailhelp@soeuk.com so we can register your new email for sending Campaign communications (you will receive an email link from Amazon Web Services to confirm your new email account address)
Not to be confused with @BTInternet.com
BTConnect does not support IMAP (this may only affect Business accounts) but does support POP
With your Email address, Email provider and email password ready..
Log into EXACT (as a high enough user), then go to Configure > Email Parameters
Enter the Email Address into the “Practice email Address field
Enter the same into the User Name field and the password in the Password field.
Enter the Incoming Mail Server outlook.office365.com (port 995) or leave blank and untick “Enable incoming mail” if you’d prefer to read your emails outside of EXACT.
Beware! using the POP/POP3 option will move all of the existing and future emails from the mailserver down into EXACT and you will not be able to get them back out. Only use POP settings if you’re sure you want your emails to remain in EXACT and not be visible elsewhere.
6. Enter the Outgoing Mail Server smtp.office365.com (port 587) then Tick the Use Authentication checkbox. You should have a screen that looks like this

7. Click Test Credentials, see “Test Successful”, click Next until you get to “finish” to save the new email details.
If this test fails it could be that the password, a mailserver/port is wrong or the account requires additional settings to be enabled. Please speak to your IT for further advice.
8. A prompt may appear to change the email in practice information too, click yes (this means all future communications to patients has the updated email address included).
If you use Campaign/Marketing Manager and clicked “Yes” to the prompt mentioned above please email us at emailhelp@soeuk.com so we can register your new email for sending Campaign communications (you will receive an email link from Amazon Web Services to confirm your new email account address)
Log into your Gmail account
In the top right go to Settings, then Forwarding and POP/IMAP

Ensure that IMAP is Enabled for the account (or enable POP if this will be used instead).
Please Note: IMAP will keep a copy of the email in your Gmail account, however this will be marked as read. If this will be an issue for you, you can enable POP and you must ensure the option to 'keep Gmail's copy in the inbox' is enabled. These settings are shown in the image below.
Now go to the Accounts & import tab, then “Other Google account settings”

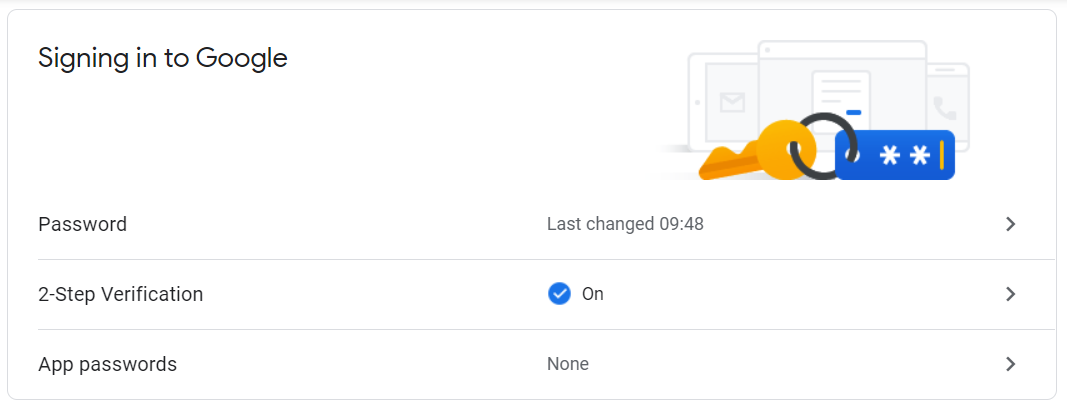
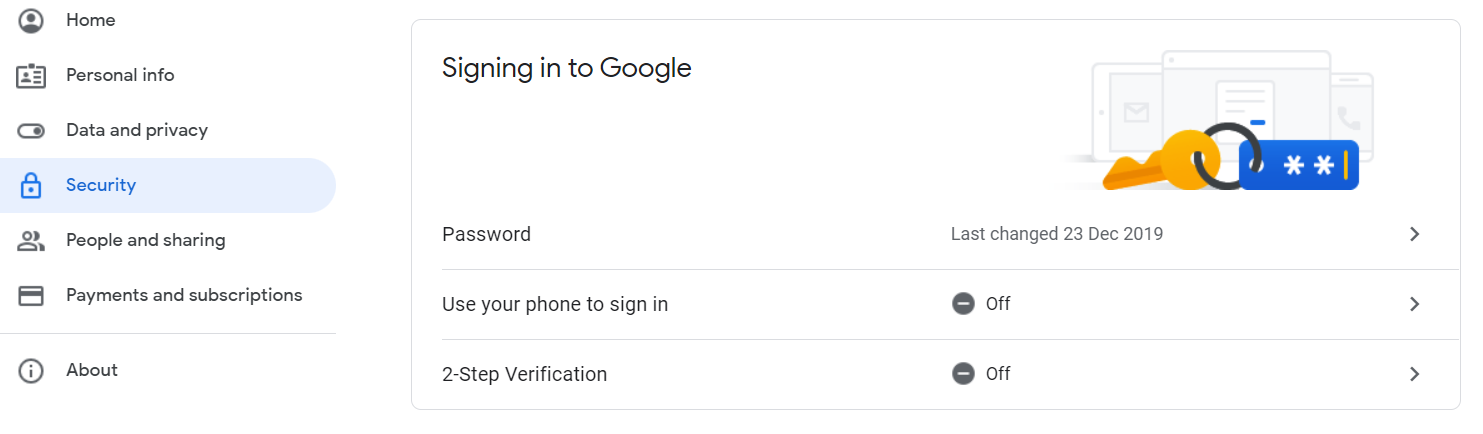
Click Here or Click “Security” on the left then scroll down to the section 'Signing in to Google', select '2-Step Verification
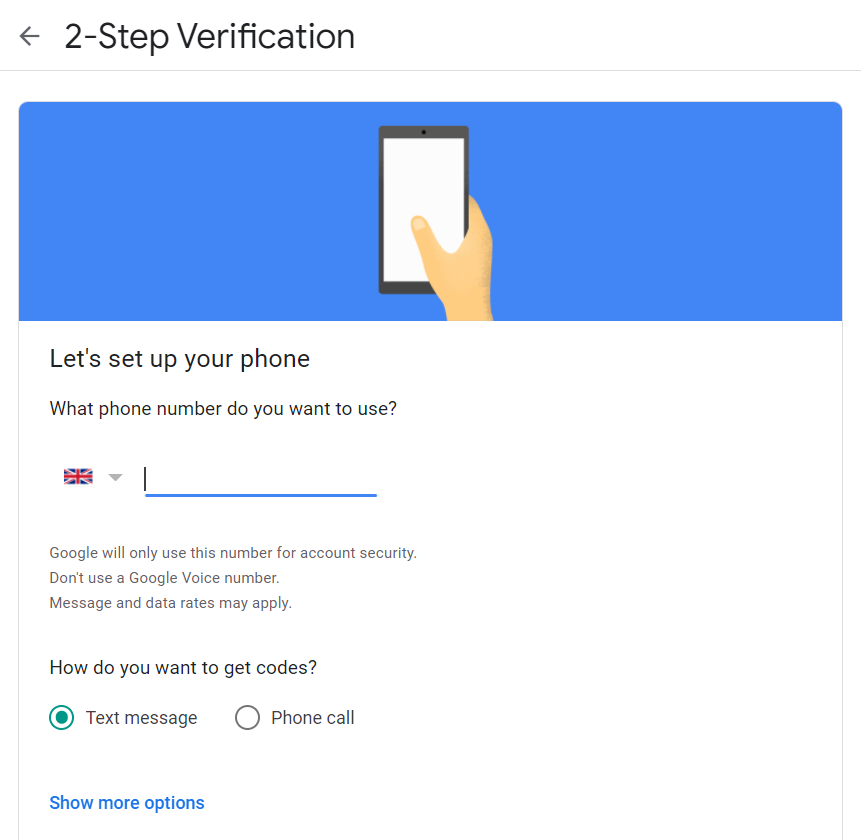
Now select 'Get Started' where you will be prompted to log into your Gmail account. You will then be asked to enter a phone number* to set up for the 2-Step Verification, this will send you a code to enter, once this code is entered you can then enable 2-Step Verification.*more options are available, please select Show more options at the bottom of the 2-Step Verification page to choose what is best for you and your practice.
Now you will need to navigate back to the Security tab and scroll down to 'Signing in to Google', this will new display a new option 'App passwords'.
Select this and you can now choose an app from the list or create your own under 'Other (Custom name)' and call this EXACT and select generate this will create a password to be used to allow EXACT to access your emails.
Enabling 2-Step Verification for Gsuite email accounts
Log into the admin account with a Super Admin account at admin.google.com/
Select Security - Authentication - 2-step verification
You will need to Allow users to turn on 2-Step Verification and save these settings. This will allow it's this setting to be enabled within user accounts, please view the steps on how to enable your Gmail account for 2-Step Verification.
Note: Additional settings are available within 2-step verification, for further guidance on these please use Google's help information to make an informative decision on these.


If you use Campaign/Marketing Manager and clicked “Yes” to the prompt mentioned above please email us at emailhelp@soeuk.com so we can register your new email for sending Campaign communications (you will receive an email link from Amazon Web Services to confirm your new email account address)
Beware! using the POP/POP3 option will move all of the existing and future emails from the mailserver down into EXACT and you will not be able to get them back out. Only use POP settings if you’re sure you want your emails to remain in EXACT and not be visible elsewhere.
(Gmail/Gsuite however has an option for POP to “leave a copy on the mailserver” which can be found in the Gmail settings online.)
Log into EXACT (as a high enough user), then go to Configure > Email Parameters
Enter the Email Address into the “Practice email Address” field
Enter the same into the User Name field and the password in the Password field.
Enter the Incoming Mail Server imap.secureserver.net (port 993 for IMAP, recommended) (Port 995 for POP, Not Recommended) or leave blank and untick “Enable incoming mail” if you’d prefer to read your emails outside of EXACT. Tick the IMAP box if port 993 is being used.
11. Enter the Outgoing Mail Server smtpout.secureserver.net (port 587) then Tick the Use Authentication checkbox. You should have a screen that looks like this
12. Note, whether you used IMAP or POP settings, if the account you’ve just entered into EXACT has a lot of existing emails, EXACT will pull all of these in which can take a while depending on how many emails it needs to sync. These emails can be removed once it’s finished syncing but there’s no way to stop this process unfortunately.
Click Test Credentials, see “Test Successful”, click Next until you get to “finish” to save the new email details.
If this test fails it could be that the password, a mailserver/port is wrong or the account requires additional settings to be enabled. Please speak to your IT for further advice.
13. A prompt may appear to change the email in practice information too, click yes (this means all future communications to patients has the updated email address included).
If you use Campaign/Marketing Manager and clicked “Yes” to the prompt mentioned above please email us at emailhelp@soeuk.com so we can register your new email for sending Campaign communications (you will receive an email link from Amazon Web Services to confirm your new email account address)
Important information: Microsoft email accounts (Office365 and Outlook) are changing the way their security functions with the removal of Basic Authentication. This is being replaced with Modern Authentication via OAuth 2.0 for an improved level of security on 1st October 2022.
It has come to our attention that Microsoft have started removing Basic Authentication at random. This is causing some accounts to cease functionality within EXACT. Read the full article on this topic here:https://soeidental.atlassian.net/l/cp/swN4jqX7
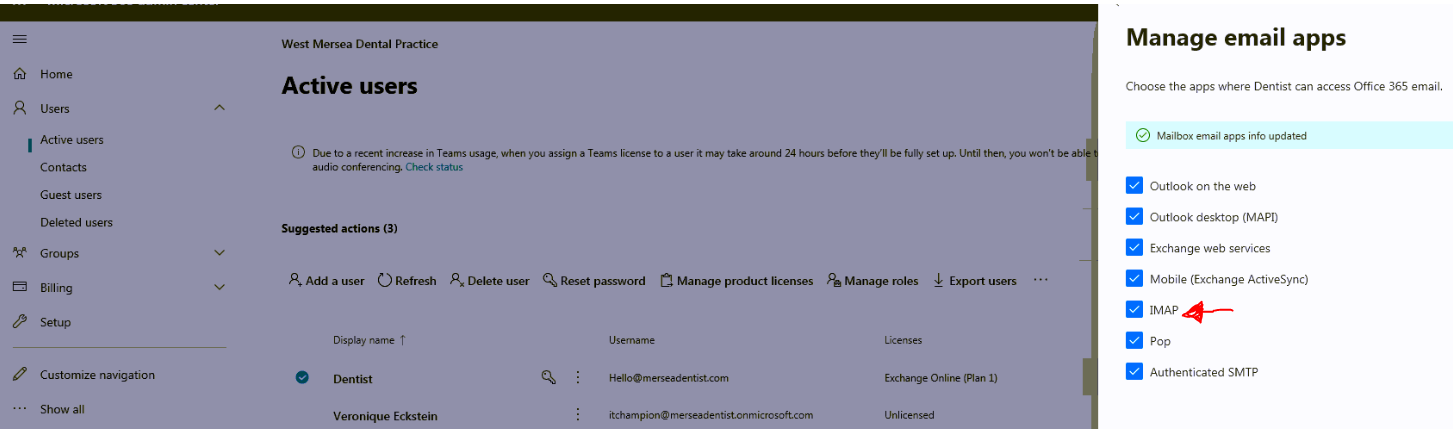
Before your Office365 email account will send and/or receive emails in a 3rd party software (EXACT) the Office Admin/Account holder needs to log in to https://portal.office.com, then find the user/email account and tick the SMTP option for EXACT to be able to send emails and either the POP or IMAP (recommended) option before EXACT can receive emails.
Beware! using the POP/POP3 option will move all of the existing and future emails from the mailserver down into EXACT and you will not be able to get them back out. Only use POP settings if you’re sure you want your emails to remain in EXACT and not be visible elsewhere.
One option could be to use an app password, Microsoft have a useful support article for how to Manage app passwords for two-step verification. Once you have followed the instructions you will be provided with an app password, this is the password to be entered into your EXACT email configuration setup.
Once the above has been done, with your Email address and email password ready..
Log into EXACT (as a high enough user), then go to Configure > Email Parameters
Enter the Email Address into the “Practice email Address field
Enter the same into the User Name field and the password in the Password field.
Enter the Incoming Mail Server outlook.office365.com (port 993 for IMAP, recommended) (Port 995 for POP) or leave blank and untick “Enable incoming mail” if you’d prefer to read your emails outside of EXACT. Tick the IMAP box if port 993 is being used.
11. Enter the Outgoing Mail Server smtp.office365.com (port 587) then Tick the Use Authentication checkbox. You should have a screen that looks like this
12. Click Test Credentials, see “Test Successful”, click Next until you get to “finish” to save the new email details.
If this test fails it could be that the password, a mailserver/port is wrong or the account requires additional settings to be enabled. Please speak to your IT for further advice.
13. A prompt may appear to change the email in practice information too, click yes (this means all future communications to patients has the updated email address included).
If you use Campaign/Marketing Manager and clicked “Yes” to the prompt mentioned above please email us at emailhelp@soeuk.com so we can register your new email for sending Campaign communications (you will receive an email link from Amazon Web Services to confirm your new email account address)
This guide should provide all the information to assist setting up a @Yahoo email account.
Step 1 - Getting a Yahoo App Password
Before you attempt to configure EXact you must first visit
https://login.yahoo.com/account/security?.scrumb=za8qMKmDmdv
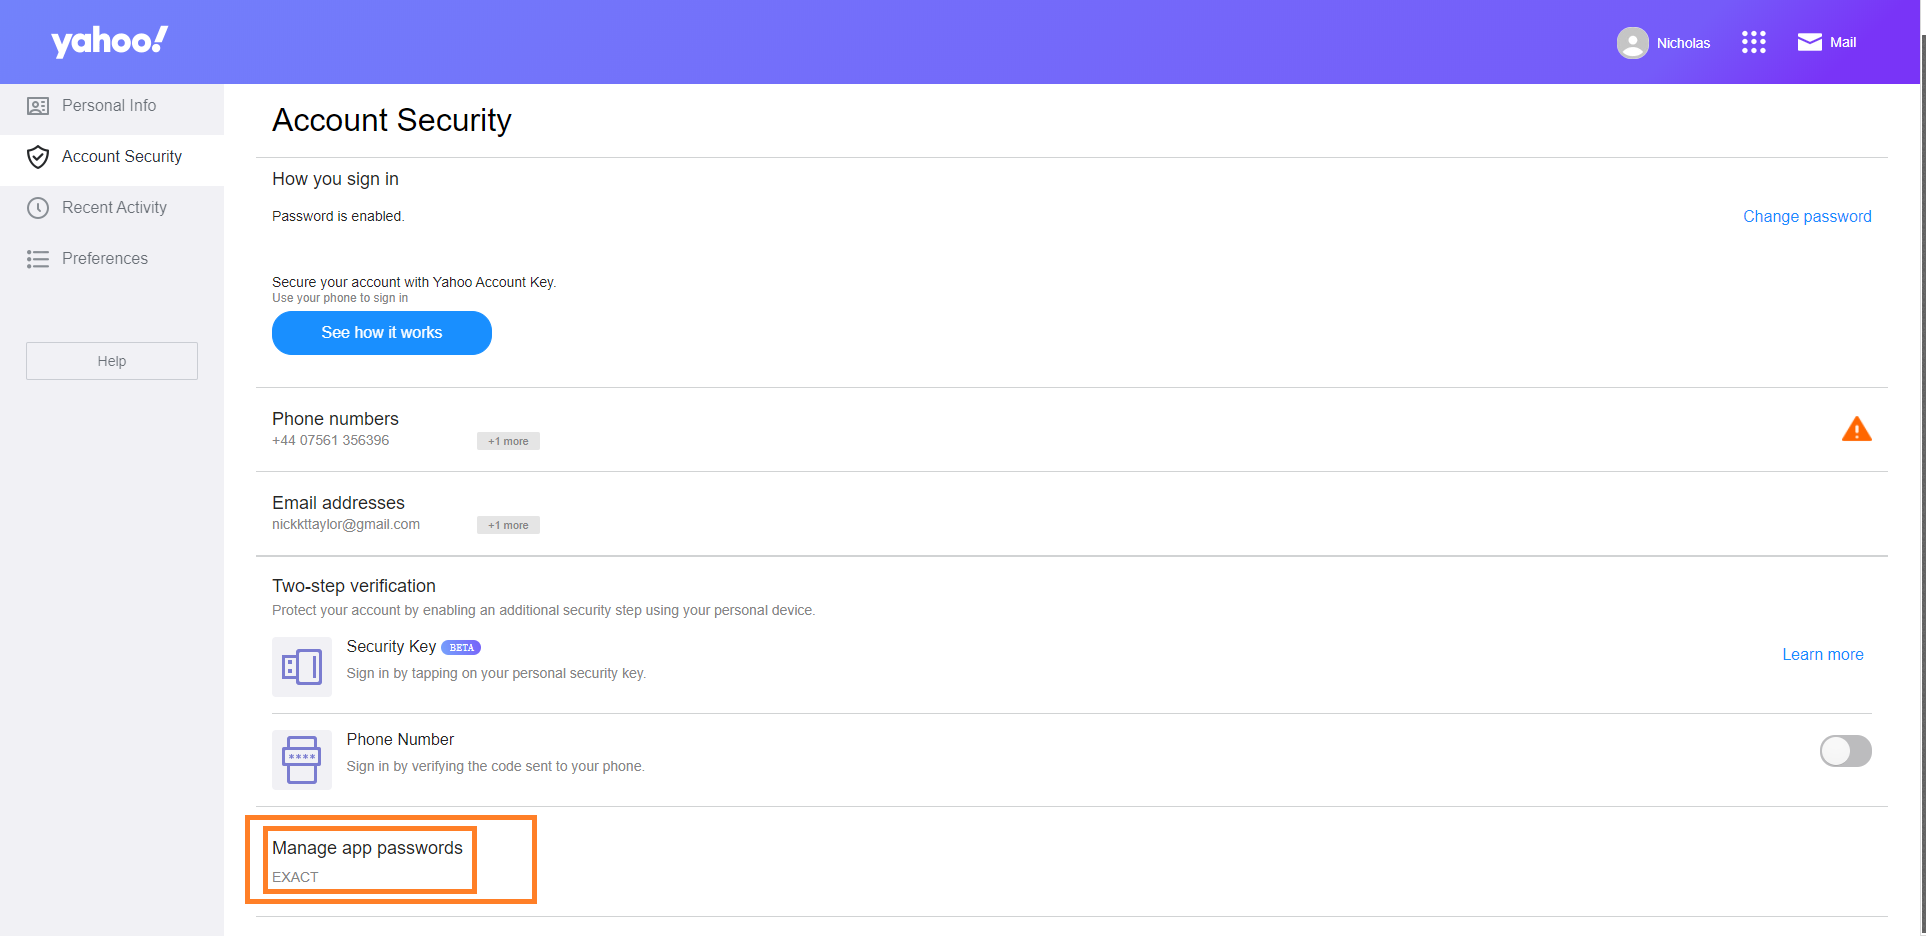
Once logged in you will see at the bottom of the page “Generate App Password”

On the screen that appears, from the drop down choose “OTHER” and type EXact, like below.
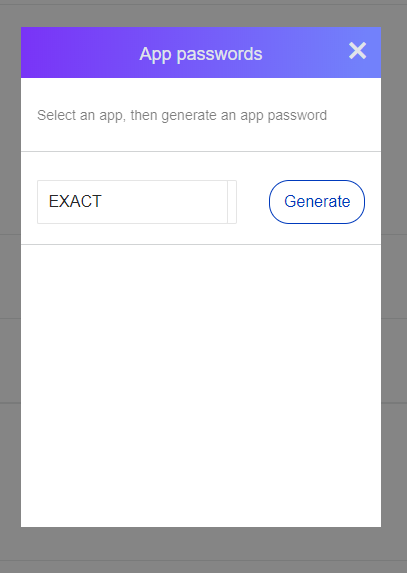
Click Generate and now take note of the password provided
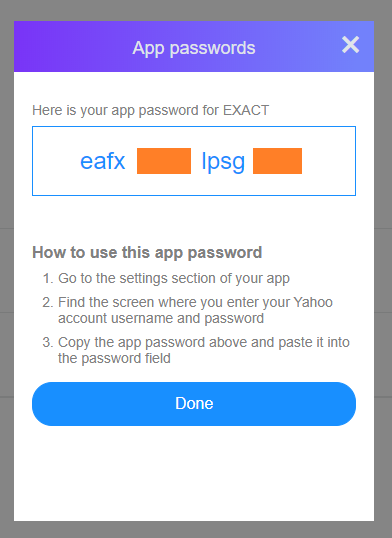
Once done the page should refresh and now show Manage App Passwords and show EXACT specifically.
Step 2 - Configuring EXact
EXACT Settings:
Incoming Mail (IMAP) Server
Server - imap.mail.yahoo.com
Port - 993
Outgoing Mail (SMTP) Server
Server - smtp.mail.yahoo.com
Port - 465 or 587
Requires authentication - Yes
PASSWORD Is the noted password from step 1!
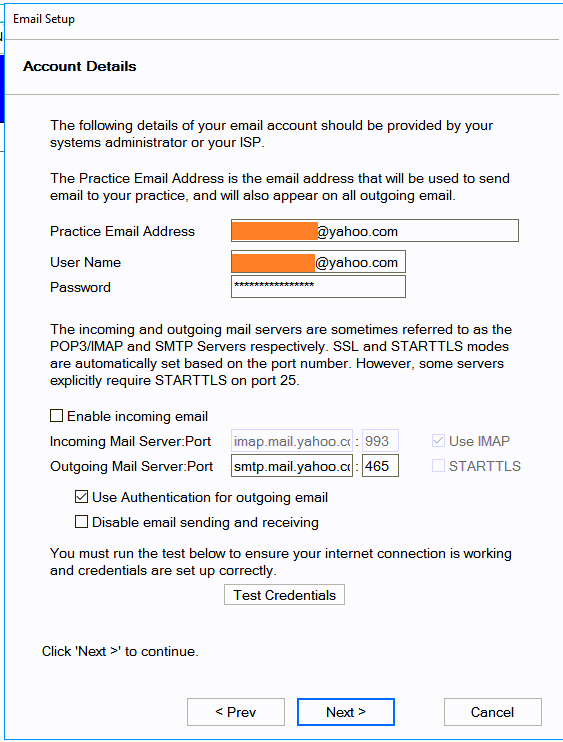
If the practice wish to also receive emails into EXact be sure to check “Enable Incoming Email” -
Only use Port 993 with IMAP to avoid deleting any previous emails of the Yahoo Webmail.
Any questions please speak to a Senior
Top Tip: To mask your email address with the name of the practice change the “practice email address” like below:
"The Dental Practice" <TDP@thedentalpractice.com>
Patients will now see emails coming from “The Dental Practice”
